
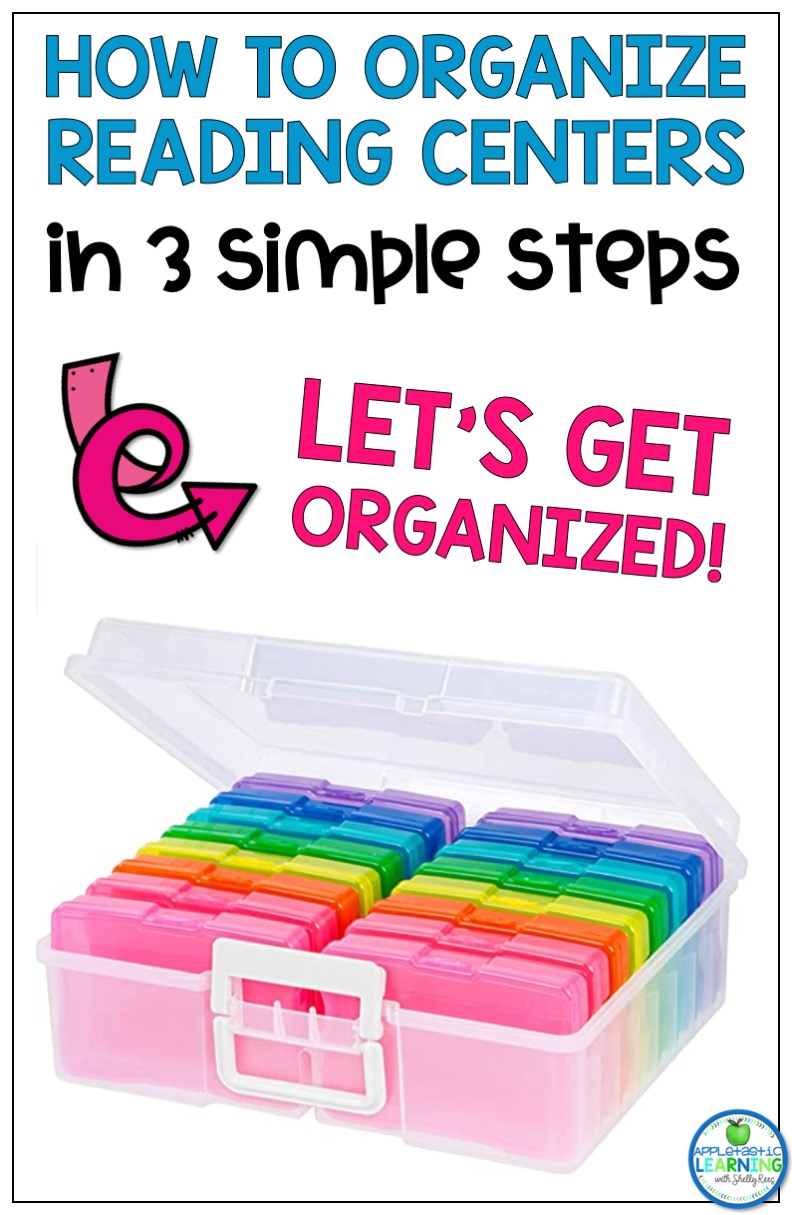
As teachers, organization can make our lives so much easier. Think about it. Our entire school day is organized and planned out from the second the bell rings in the morning. We have all of our rules and procedures established so that our days in the classroom can flow easily. Systems are set into place for organizing copies, graded papers, and notes to be sent home. Literacy centers should be given the same attention. Teachers work way too hard preparing for centers for them to only be used one time before pieces are lost or they misplaced in the classroom clutter. Here are 3 simple steps to help you organize and get the most out of literacy centers.

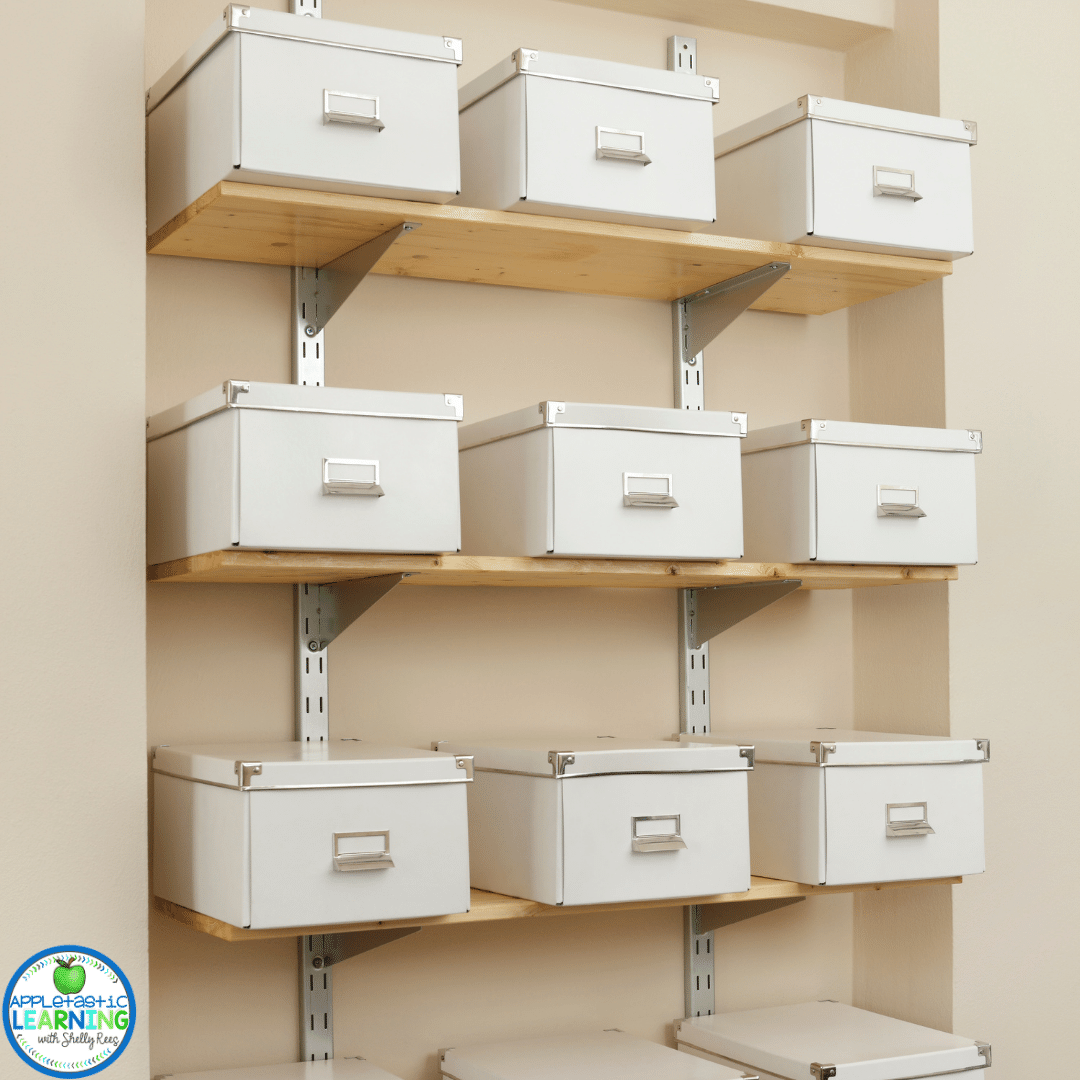
Just the simple thought of storage containers can be intimidating. There are so many different shapes and sizes. Not to mention the price of them. Just remember….your time is well worth the investment of storage containers.
Having a nice, easy-to-use system for your literacy centers will be well worth it, and you only have to buy them one time. Doesn’t a well-organized area make your heart flutter?
Using clear 12 x 12 plastic storage containers for literacy centers is a simple solution for limited storage space. They are perfect because they hold full size sheets of paper, and you can store multiple centers in one bin. I like to keep centers from the same week or month together. But you could also organize them by skill or subject area to make them easy to mix and match.
They also stack very nicely which is an obvious plus. As an extra step, you can put each individual center into a letter-size manilla envelope, plastic sleeve or even a ziploc bag. Anything that will keep at the parts and pieces together will make it easy when you grab that center the next time.
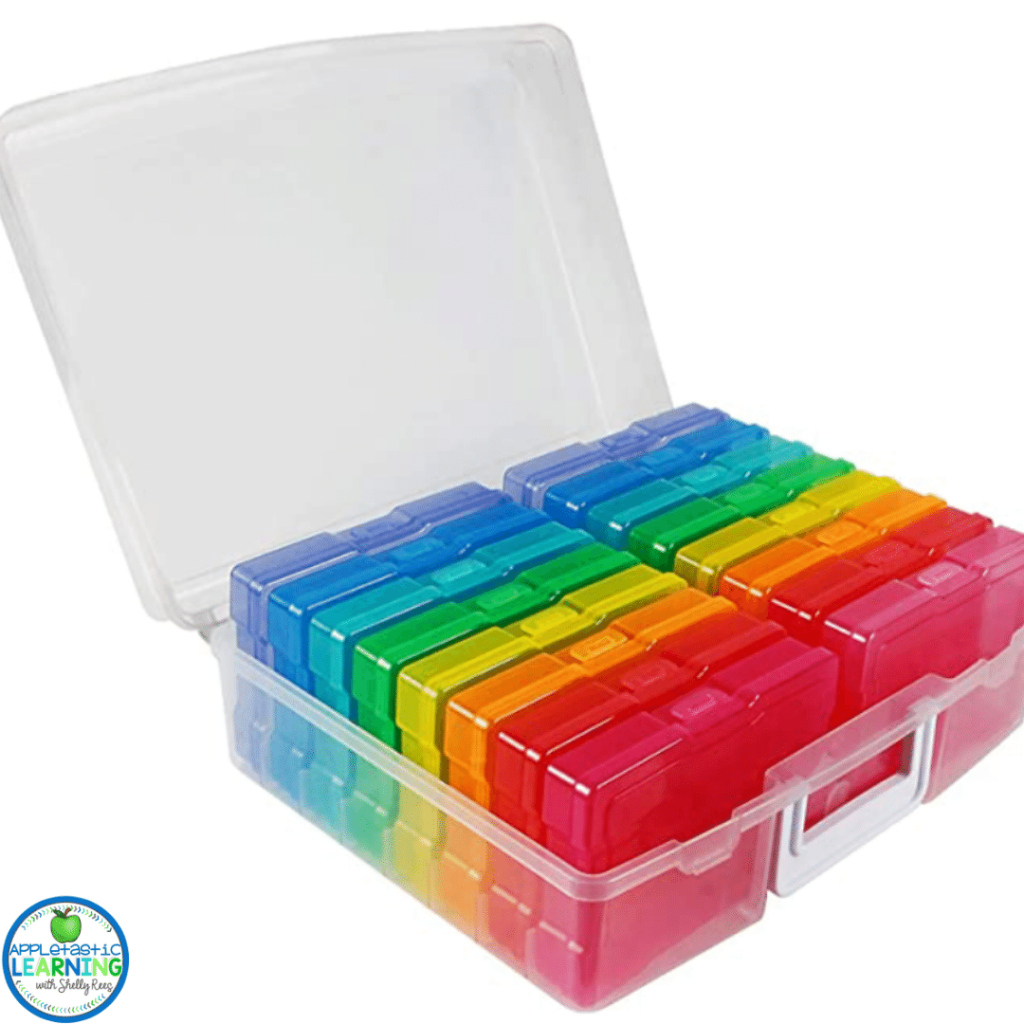
If you love using task cards in your classroom then you will love these small organization boxes. These are originally designed to store 4×6 photos but they are the perfect size for task card activities. Inside each box I keep all of the task cards and copies of the response sheet and answer key.
And if you are not in a position to purchase storage containers don’t give up before you start. Shoe boxes and cereal boxes also make great storage boxes. Be creative, look at options you already own, and think outside the box. Just find a way to keep your centers together so you don’t lose pieces or misplace folders.
Labels are your friend. It only takes a few seconds to create a label but it could save you a lot more time than that in the future. By labeling all of your centers, and the storage containers you can quickly see what you have and where things are.
For storage containers that hold multiple centers, I like large labels. On these labels I use a large, bold font to show the topic of what is inside. It could be a month or an academic skill, but it lets me quickly find what I need. Also on that label or on a piece of paper right inside I like to keep a list of the specific center activities found in that storage container.
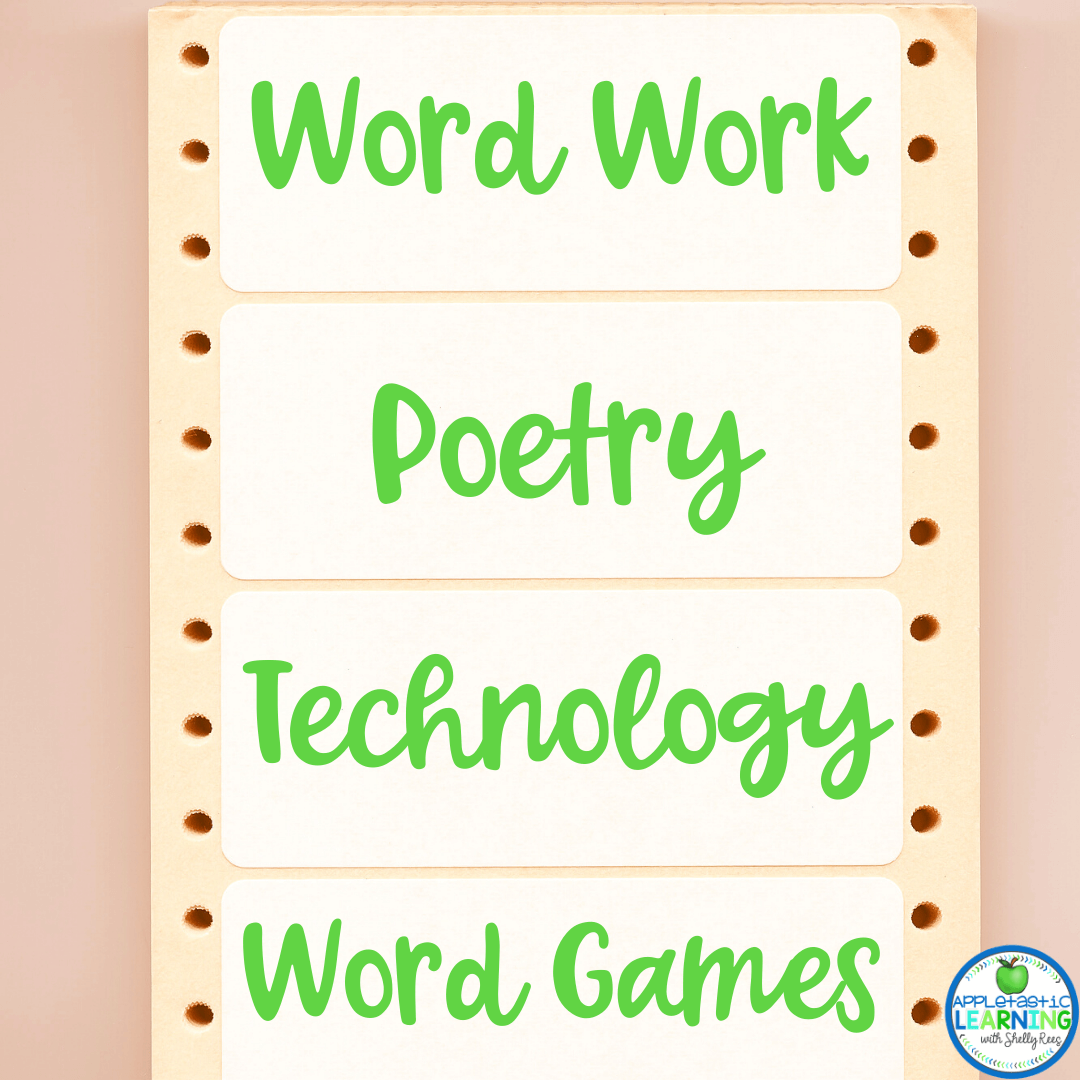
In addition to labeling the storage container, I also label each individual center activity. I like to put the name of the center and the skill. Adding the standards that each center covers is also a game-changer. You will feel like such a rockstar teacher knowing exactly what centers you have for each standard you teach.
Here are some different ways you can label your storage bins and activities:
When planning and prepping for centers your life will be so much easier because you will be able to easily find everything you need!
And . . . labeling your in use centers helps students know where activities and supplies go so they can put them away after use.

Let’s face it, if center activities get set aside month after month, when you finally get around to organizing them it becomes a big chore. Avoid the overwhelm and dread. Instead of setting them aside, set up a system and procedure for making it easy to do each time you change out centers.
If you have the space, it is nice to store all your centers in one place. But I know that is not always possible. If you have to store your centers in multiple places, organize them so that they are easy to find. You could put all your September literacy centers together with your math centers. Or you could put all of your spelling centers in one place and your reading centers in another. There’s no right or wrong way, just do what feels right to you with the space you have. Having an organization system is the most important thing.
Next, have a procedure in place for putting away centers when you are done with them. Older elementary students can help check centers to make sure that everything is together and store them in their proper container. They can even check to make sure all the parts and pieces are there. If something is missing, have them write in on a sticky note and put it on the top of the center bag or box.
If you have parents asking how they can help, this would be a great task for them. And if it is just you, grab your favorite soda or snack and time yourself to see just how fast you can put them away. If you’ve done all the other things listed here I promise it won’t take long at all!
Organization will save you time and make centers something you look forward to planning. These three simple steps are worth putting into practice. If you take the time to get organized by using storage containers, labeling everything, and have a system in place you will end of saving lots and lots of time down the road. The initial time investment will pay out in dividends of time saved throughout the remainder of the year.
Be sure to save these Literacy Center Organization Ideas by pinning them to your favorite classroom Pinterest board. Then you can come back for more classroom organization tips, teaching ideas and engaging resources for your classroom.

Hi, I’m Shelly! Thank you for being here. I love helping third, fourth, and fifth grade teachers with fun and engaging activities that require no to little prep! Let me help you by taking some of the stress and work off your plate.
©2022 Shelly Rees. All Rights Reserved.