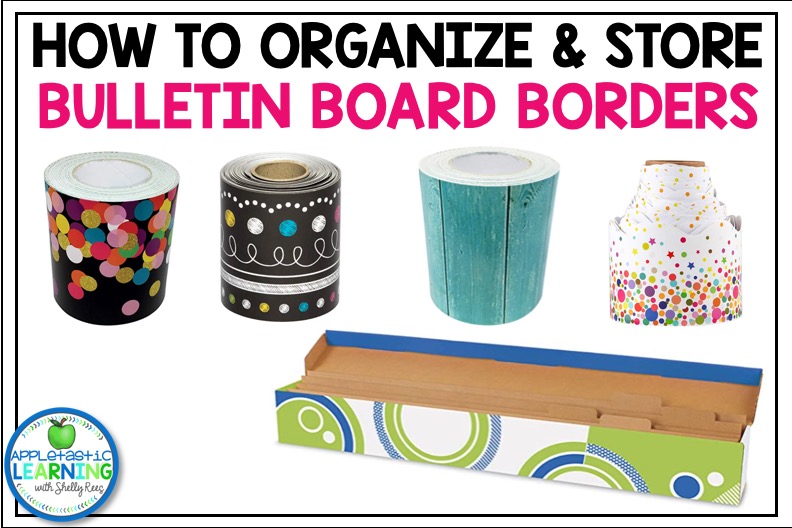

With the back-to-school season on the horizon, teachers everywhere are starting to plan out their classroom decor. This always includes shopping for and preparing bulletin boards. Throughout the year, teachers are often required to change out their bulletin board displays. All that changing can lead to a nice supply of bulletin board borders. But those long strips of colorful paper can pose a problem . . . how do you store them? With a few clever tips and tricks, it’s easy to save bulletin board borders to use again and again.
When you are ready to save and store your bulletin board borders, take them down and stack them into a single stack. Then, as carefully as possible and start rolling them together. It may be helpful to label the back of each strip with a number to help remind you where each one should be placed when you are ready to put them up again.
After you have a roll finished, it will be easy to secure it with a paperclip or rubber band to hold them all together. Then, it’s just as easy as putting the roll in a plastic zip-loc bag, a box or other bin to store safely until you are ready to use the borders again.
You can also store them in a zip-loc bag or box with all the other bulletin board elements for that bulletin board design. This will make it really easy to put up the next time. You will have the border, letters, and any other embellishments all in one place.
If you are looking for the most space-saving way to store your bulletin board borders, the flat stack is the best option.
Similar to the rolled up option, carefully remove the borders from your bulletin board and lay them flat one on top of the other. Secure the set with a paperclip or binder clip to keep everything together.
The hardest part of using this method is finding a space long enough for them to lay flat. The back of a book shelf or the top edge of a cabinet works really well. It keeps them flat and out of the way.
If you have a closet with hanging space, you can even hang the borders. First, secure the stack of border using binder clips. Then put a metal ring through the binder clip and hang on a hook in your closet. Similarly, you can use a clothes pin or binder clip to connect the stack of border to a hanger too. Just make sure it isn’t so heavy that it falls off.
Every teacher knows how amazing pocket chart organizers are. However, did you know there is a similar product for storing bulletin board borders?
Most bulletin board storage pockets make it super simple for you to store up to 5 bulletin board border sets in one place. With long, transparent plastic pockets, you will be able to see each of the sets and quickly choose the one you want to use.
These amazing bulletin board storage pockets are also easy to hang, carry, and store taking up very little space. This means you will be able to save for years without having to worry about them getting damaged. Check out this Kruideey Bulletin Border Storage Pocket Chart for Classroom available on Amazon!
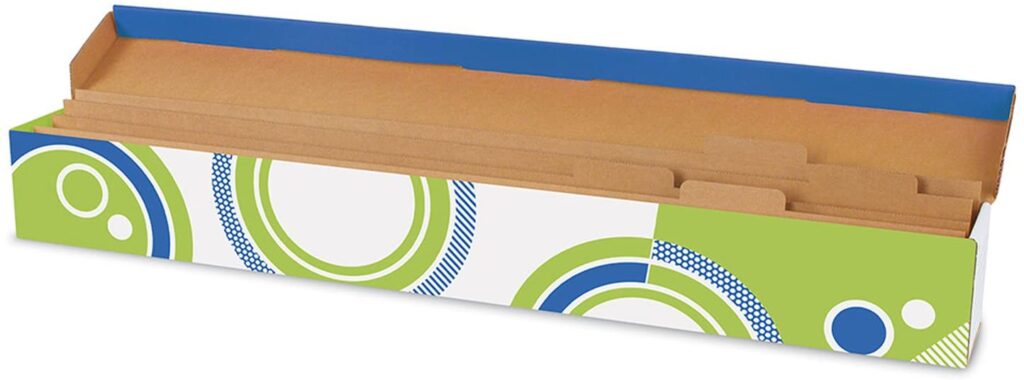
Another way to store your bulletin board borders is with a specially designed storage box. It is long and thin and perfect for storing bulletin board boarder. Just lay your borders flat and place inside the separates with the dividers. The storage box can then be stored on a shelf or cabinet.

One of the best things about the storage box is that you can store so much in it! At least 20 sets will fit comfortably within the cardboard box. Because of this, you may *gasp* NEVER have to buy bulletin board borders again.
The TREND enterprises, Inc. Trimmer Storage Box File ‘n Save System is available on Amazon and can help you store and organize with ease.
Hopefully, you are feeling excited about saving your bulletin board borders. Now you may be starting to think about other things you could store and reuse. A storage box is going to be your new favorite storage item.
Not only can your store and organize your bulletin board borders, but you can also store a complete set of posters! Because of the size of the box, you will be able to store your bulletin board decorations together in one place. This is a super time saver at the beginning of the year.
Start by laying the border flat along the bottom of the box. Then add your posters and other embellishments. You will be able to store so many bulletin board supplies in one place with this File ‘n Save Bulletin Board Storage Box.
Be sure to pin these Bulletin Board Borders storage ideas to your favorite classroom Pinterest board.

Hi, I’m Shelly! Thank you for being here. I love helping third, fourth, and fifth grade teachers with fun and engaging activities that require no to little prep! Let me help you by taking some of the stress and work off your plate.

©2022 Shelly Rees. All Rights Reserved.